With the help of the functionality of External Lines, you can communicate with clients directly in your Uspacy while they are writing to you in third-party messengers, for example, in WhatsApp.

To do this, it is enough to connect and configure the integration, which will ensure the messages to be sent to Space.
Features of work
At Uspacy, the functionality of external lines is implemented through integrations with specialized services.
In the Marketplace section, there is a free application for working with WhatsApp, which, after installation and configuration, will allow you to work with client requests in the Uspacy chat.
💡You can connect WhatsApp to your Space using the Twilio service.
Therefore, for correct operation, you will need to configure both the Twilio and the Uspacy. You will need the following basic parameters:
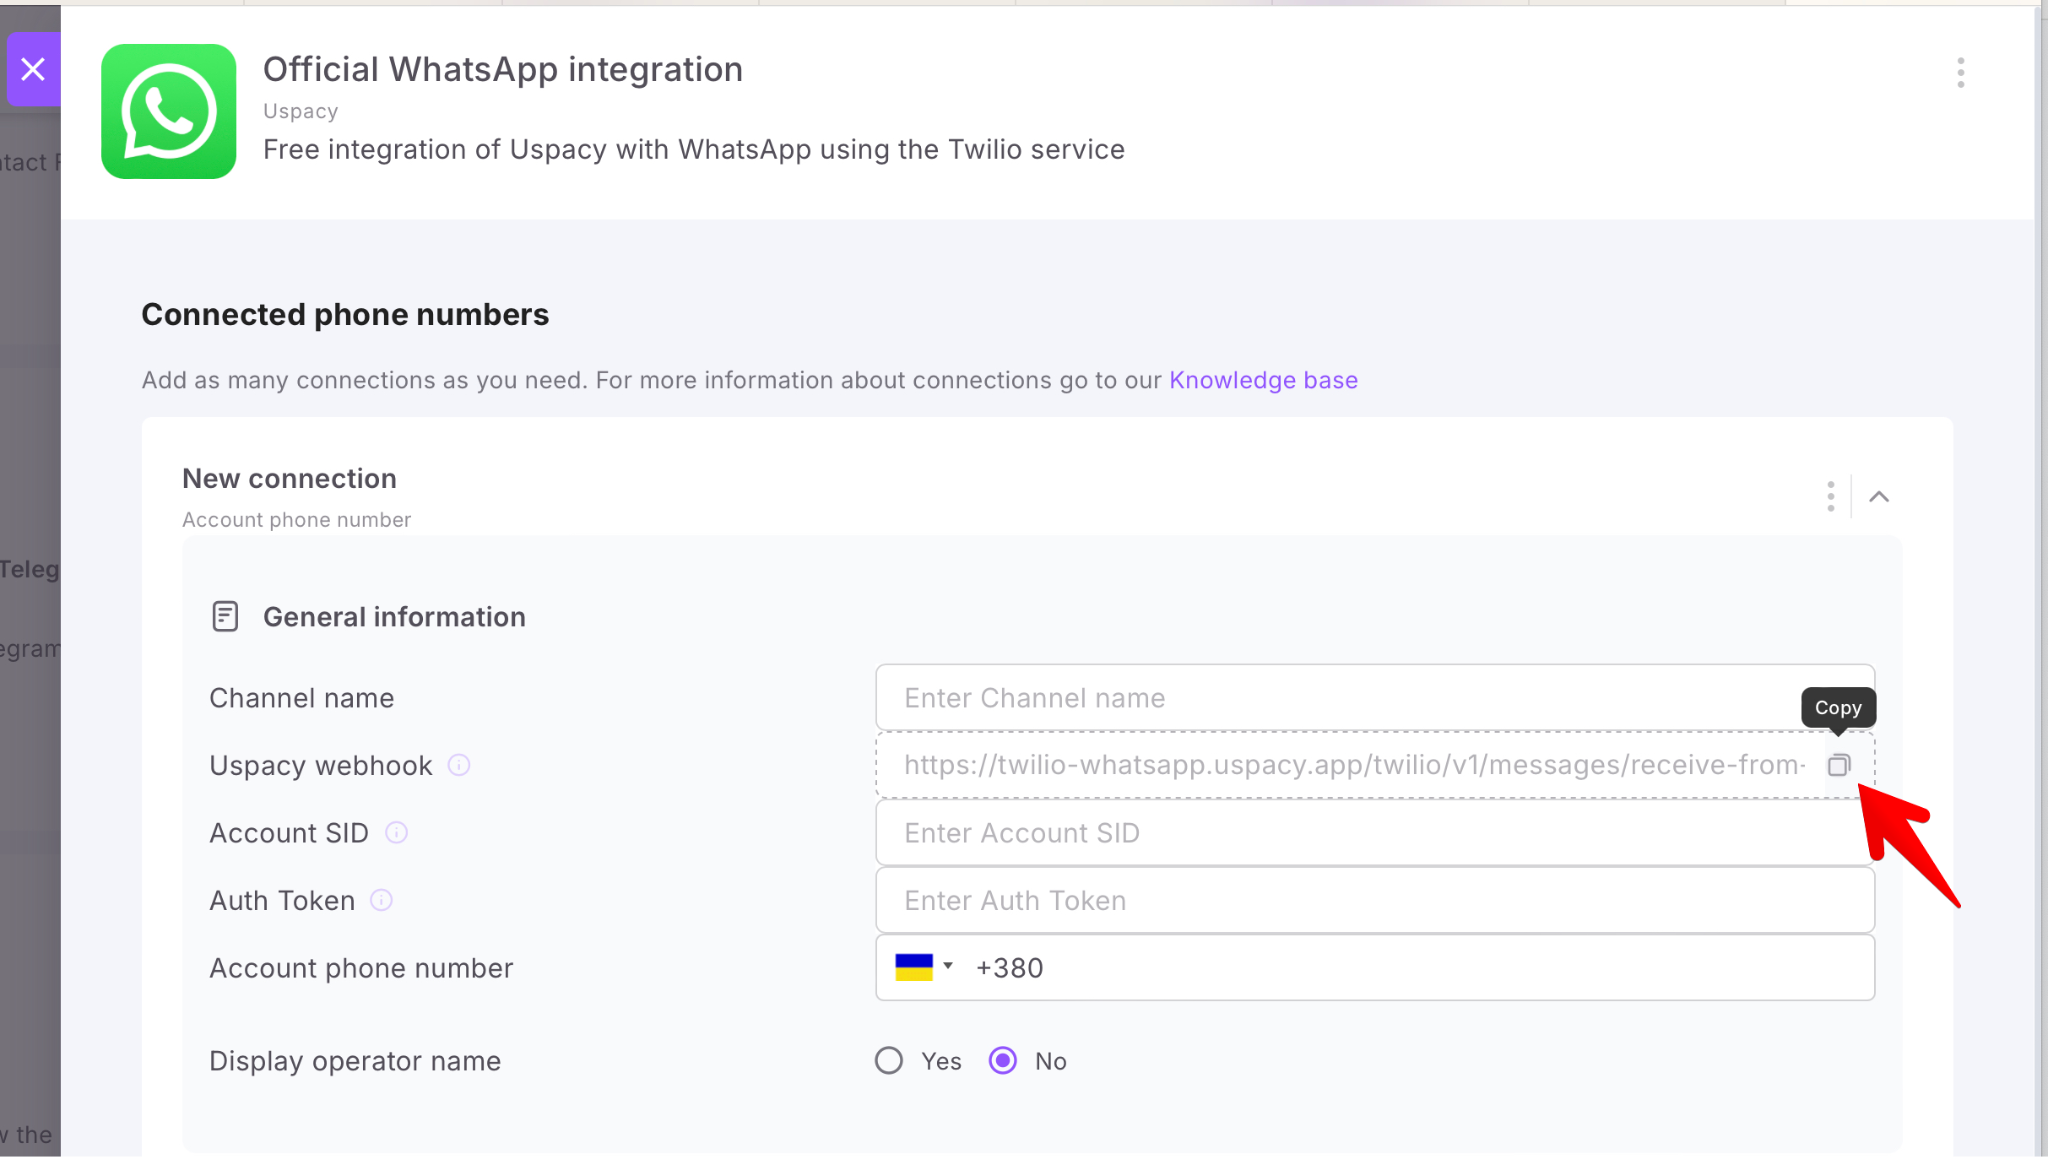
- Uspacy webhook - you need to copy it in the settings of the WhatsApp application in your Space and paste it into the appropriate field in the settings of Twilio.
- Account SID, Auth Token, Account phone number - data from Twilio that you need to enter in the corresponding fields in the settings of the WhatsApp application in your Space.
About this below ⬇️
Preparatory actions
First, you need to install the free WhatsApp integration app in your Space. To do this, go to the Marketplace section and click on the Get button.

Once the application is installed, the data it needs to be used for Twilio will be available. Next, open its settings.

Here you will need the Uspacy webhook field. It needs to be copied and used when configuring your WhatsApp number.

Twilio settings
Step 1. Register and verify your Twilio account
If you do not have an account in this service yet, register it.

Next, you must verify your account by phone number.

If you already have an account, just log in using the authorization page.

Step 2. Create an additional account for working with WhatsApp
☝🏻 For convenience, it is better to create another account at once, specifically for working with WhatsApp.
To do this, open the special switch and select View all accounts.

On the page that opens, click on the Create New Account button.

💡Go through all the steps for confirmation again, as it was done during the initial registration in the Twilio service itself.
Step 3. Receive information about your Twilio account
Two important parameters that are required to enable integration with WhatsApp in your space are Account SID and Auth token. They are generated automatically when creating each of your Twilio accounts.

You can find them on the main page in the Account info block.

The Account SID and Auth token will be used to configure the connection at Uspacy.
Step 4: Rent or link your WhatsApp number
You can get the number directly from the service. To do this, click Get a trial phone number.

After that, a field with the rented number will appear in the Account info block.

You can link your own number. How to do this is described in the Twilio knowledge base ➡️Read the article for more details.
Step 5. Switch to a paid Twilio account
💡 Please note that the application for integration with WhatApp in your Uspacy Space is absolutely free.
The Twilio services are paid. After registration, you get a trial period. But to use the rented number to the full, you need to switch to the paid version. To do this, click on the Upgrade your account button.

On the page that opens, fill out all the necessary information about the company, such as the location of the company and tax number, and at the end indicate the amount to top up the balance (minimum $20 and maximum $2000).

In addition, a fee is charged for sending messages. You can read more about the prices for Twilio services on a separate page.
Step 6. Configure a rented (linked) number for WhatsApp
First, expand the Messaging section of the left menu and select WhatsApp senders. In the WhatsApp number block, click on your rented or linked number.
This number will be used to configure the connection at Uspacy.

The settings page will open. Here, in the Endpoint configuration block, in the field How would you like to configure this sender? check the Use webhooks option. Below, paste the Uspacy webhook.

💡 It needs to be copied on the WhatsApp integration app settings page in your Uspacy Space.
Next, in the Business profile information block, add the necessary information. For example, your website address, business description or image. This information will be shown to WhatsApp users when they interact with your company.

Of course, don't forget to save all settings. To do this, click Update WhatsApp Sender.

Uspacy settings
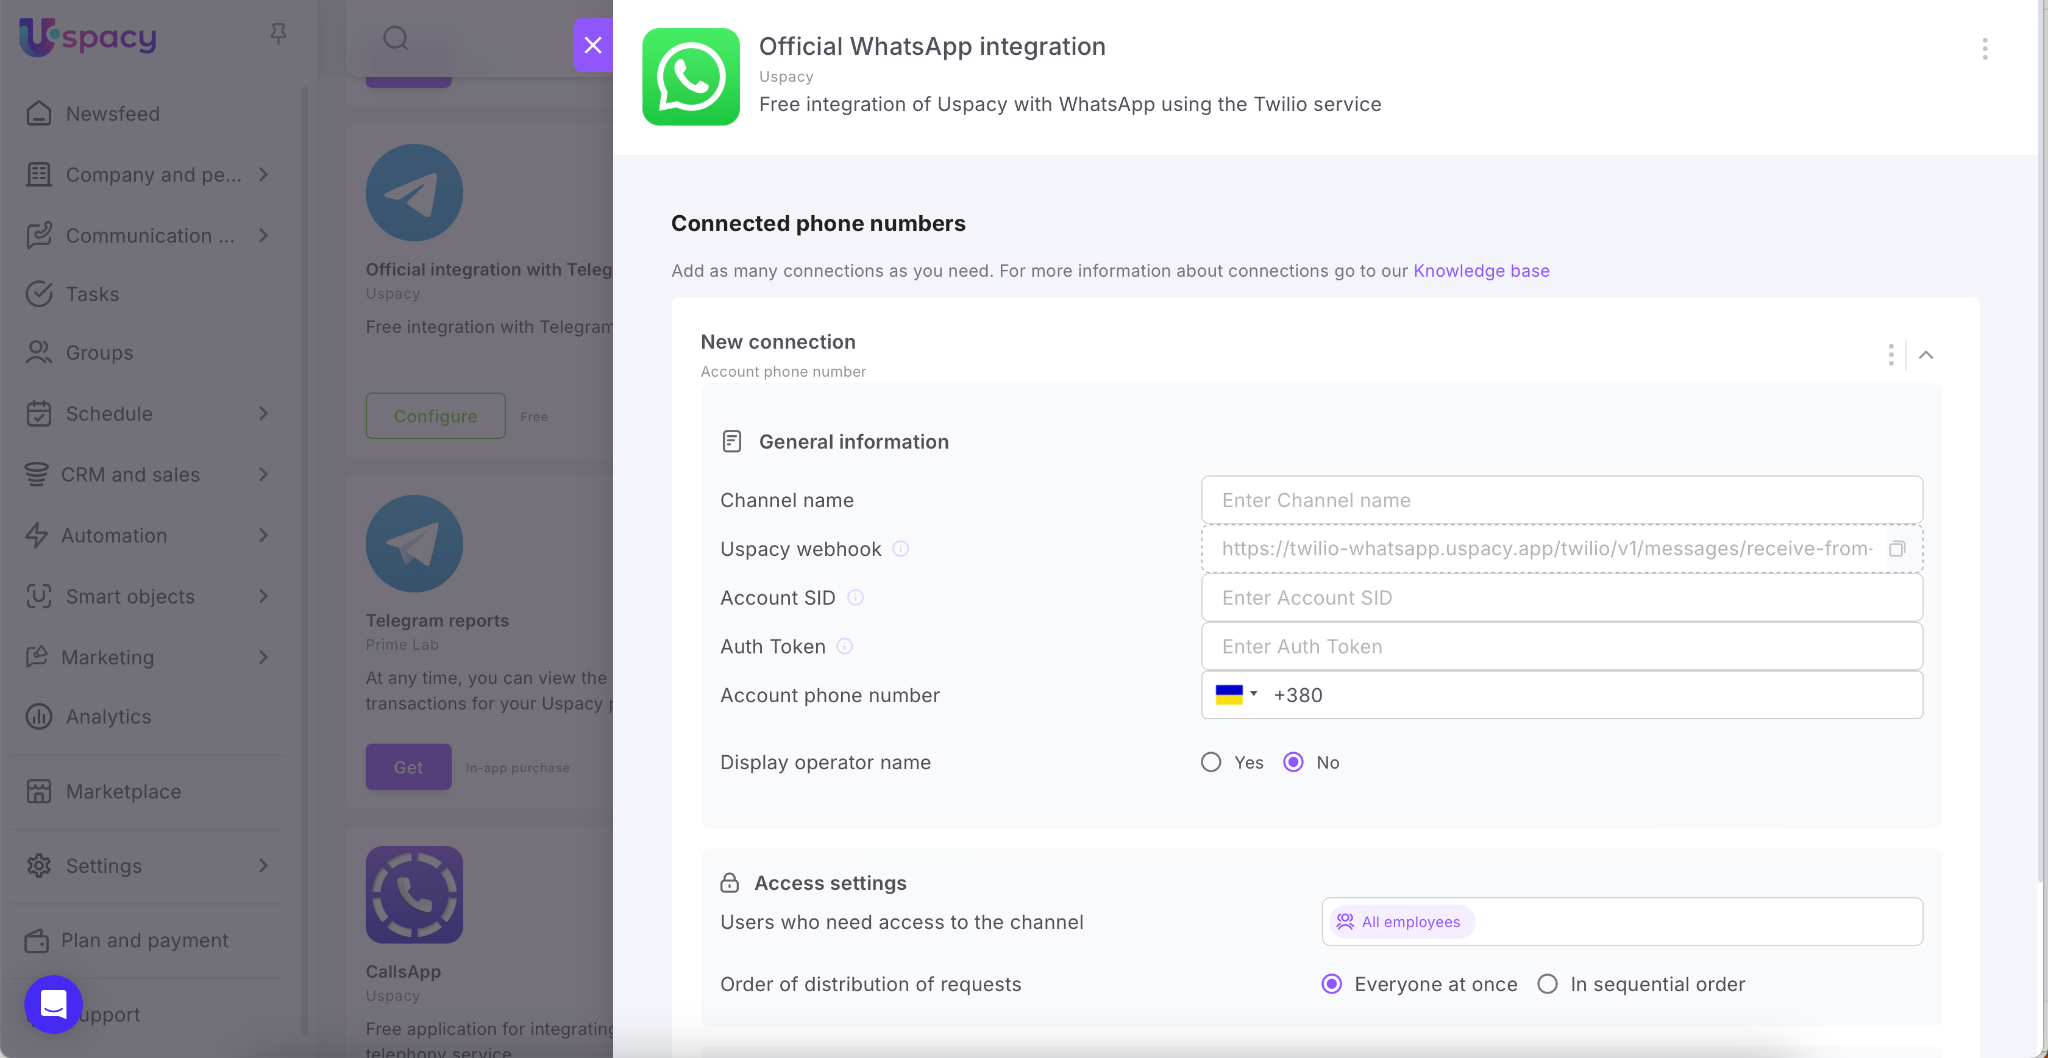
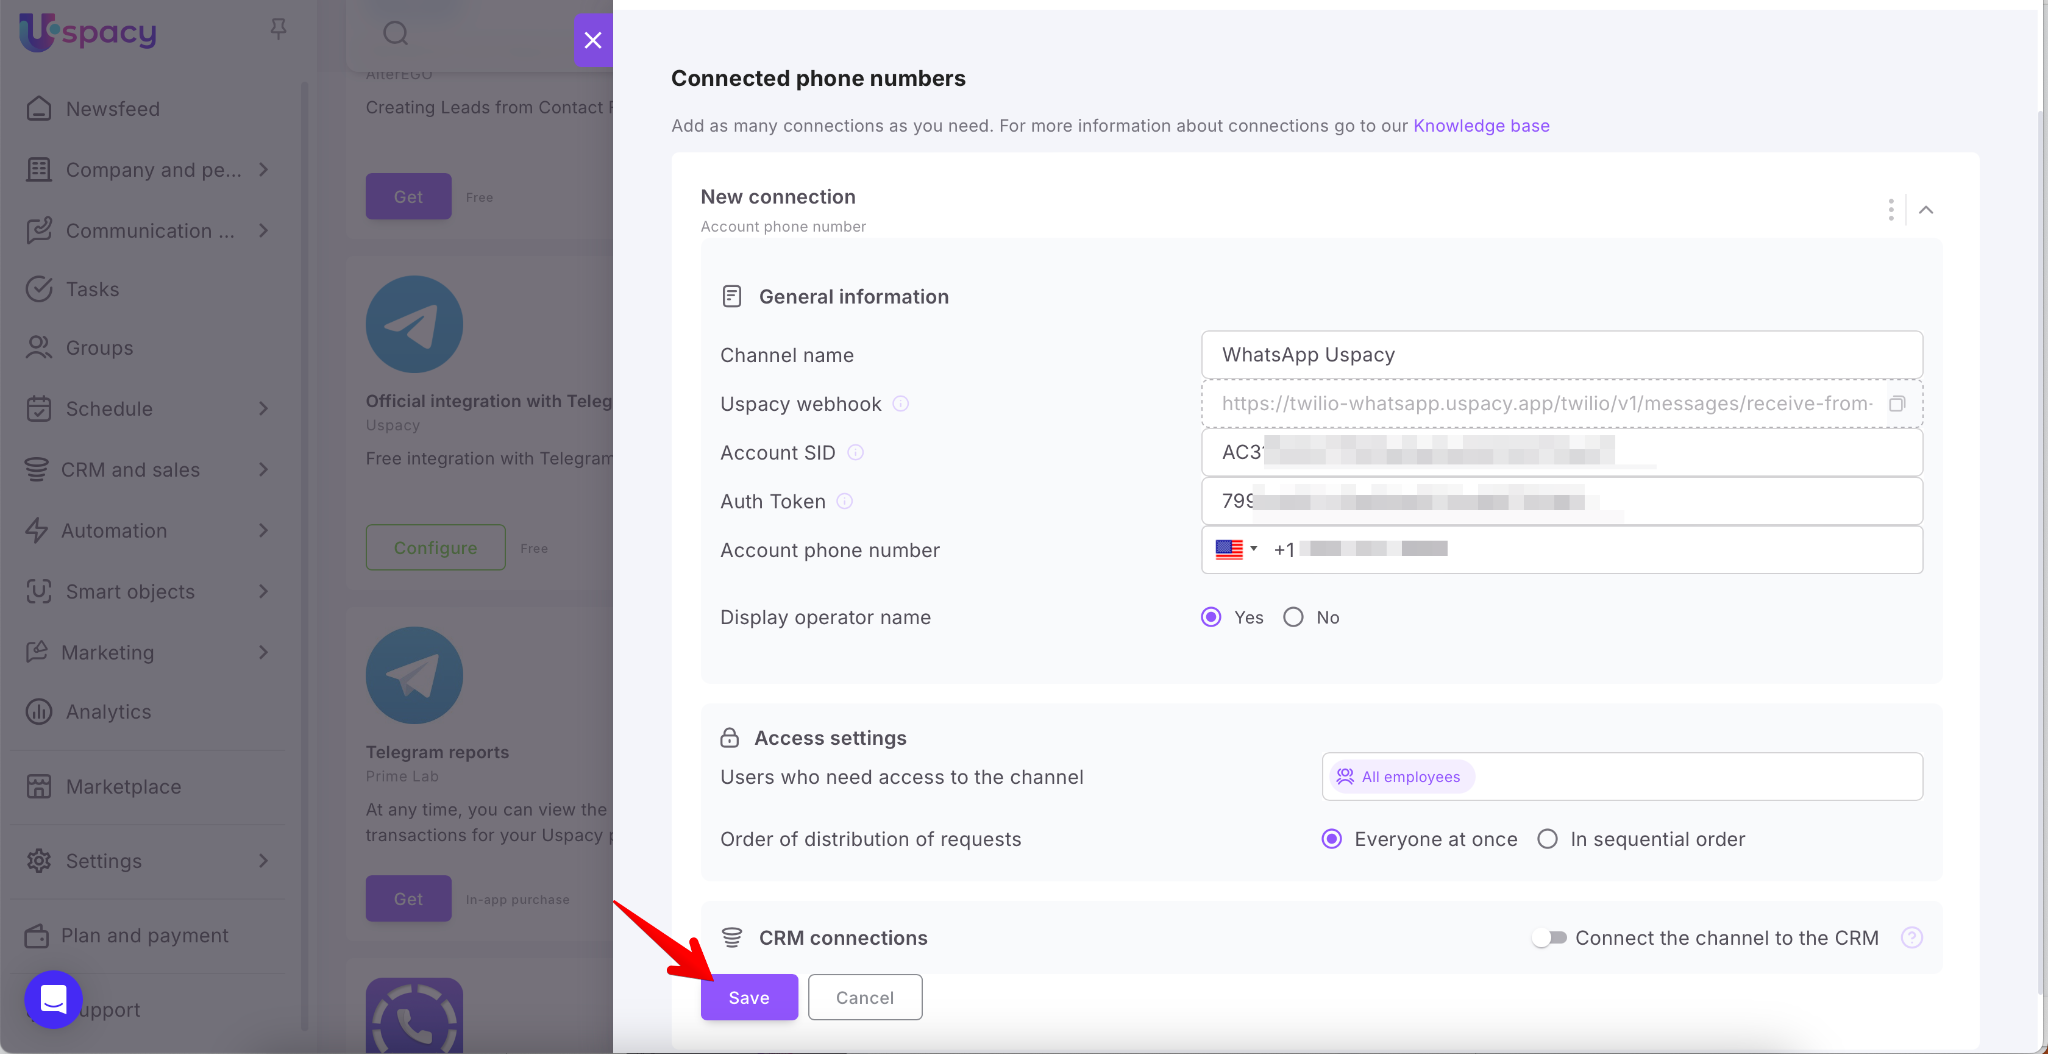
n order for everything to work correctly, all that remains is to configure the settings in the WhatsApp integration application. Here you need to fill out four fields:
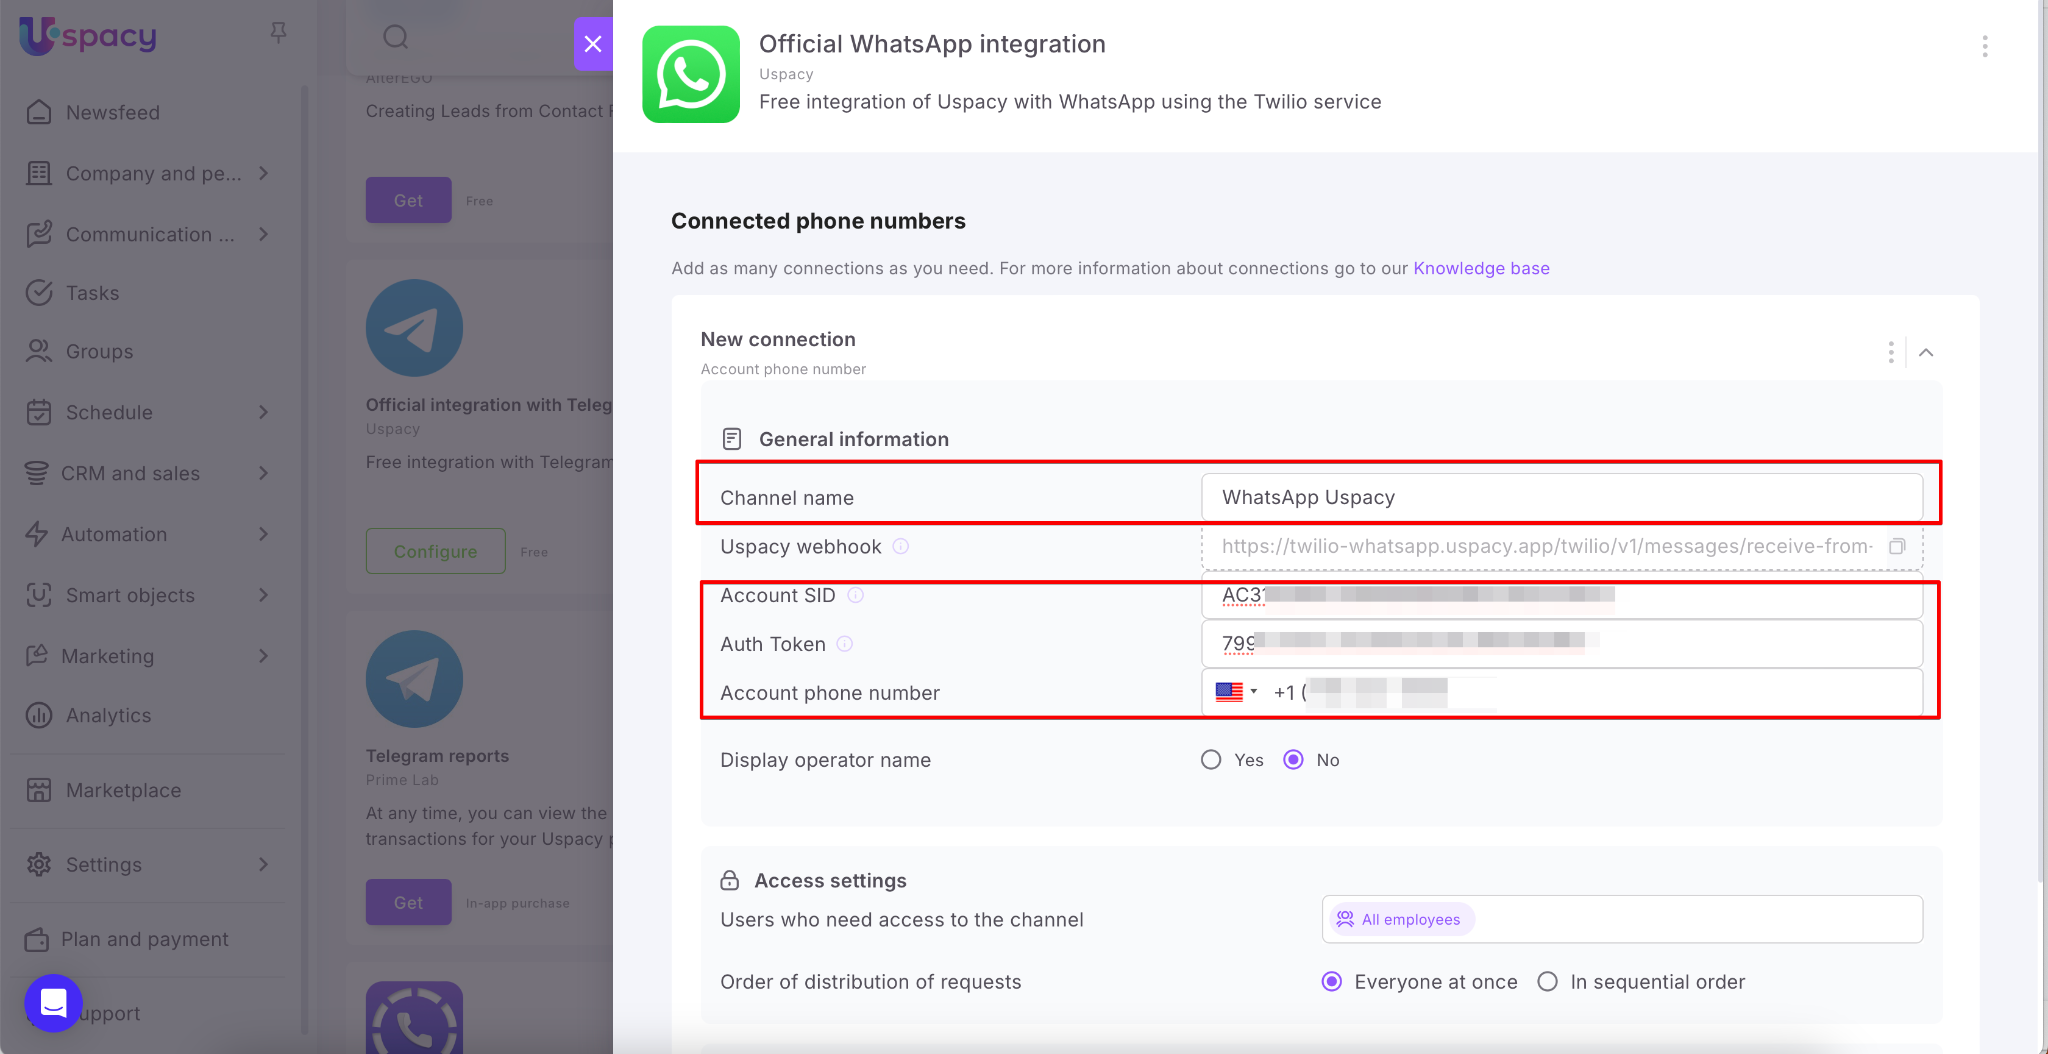
- The name of the channel can be arbitrary.
- Account SID - you can find on the main page in the Account info block.
- Auth Token - you can find on the main page in the Account info block.
- Account phone number – a configured rented or linked number for WhatsApp in Twilio.
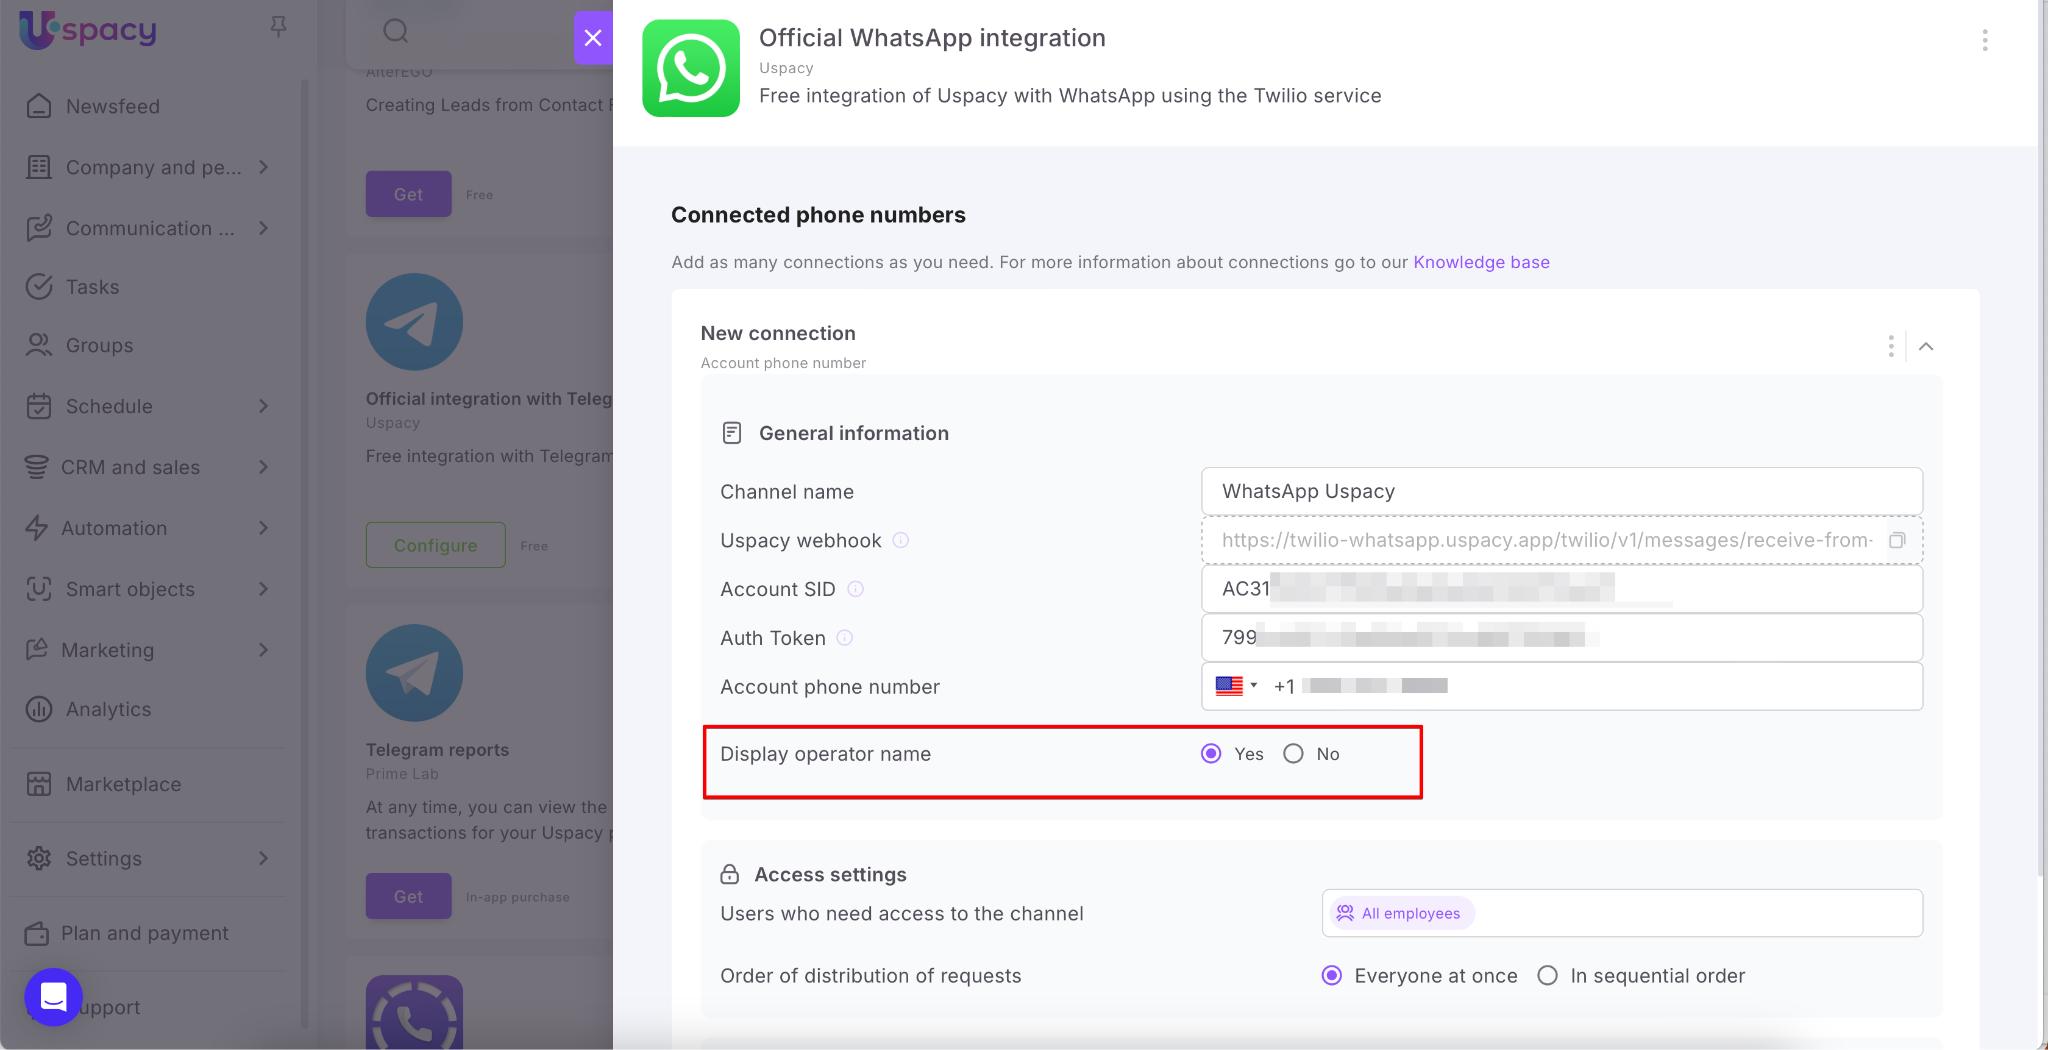
You can also enable the “Display operator name” option. This allows clients to see exactly which manager is responding to them.
And click Save.
💡Additional parameters during connection setup include Access settings and CRM connections.
If you don’t need to specify which employees can work with chats from this channel, or how those chats should be distributed, you can leave the fields in this block unchanged.
Similarly, if you don’t need to link incoming chats to CRM elements, just leave the CRM connections block inactive.
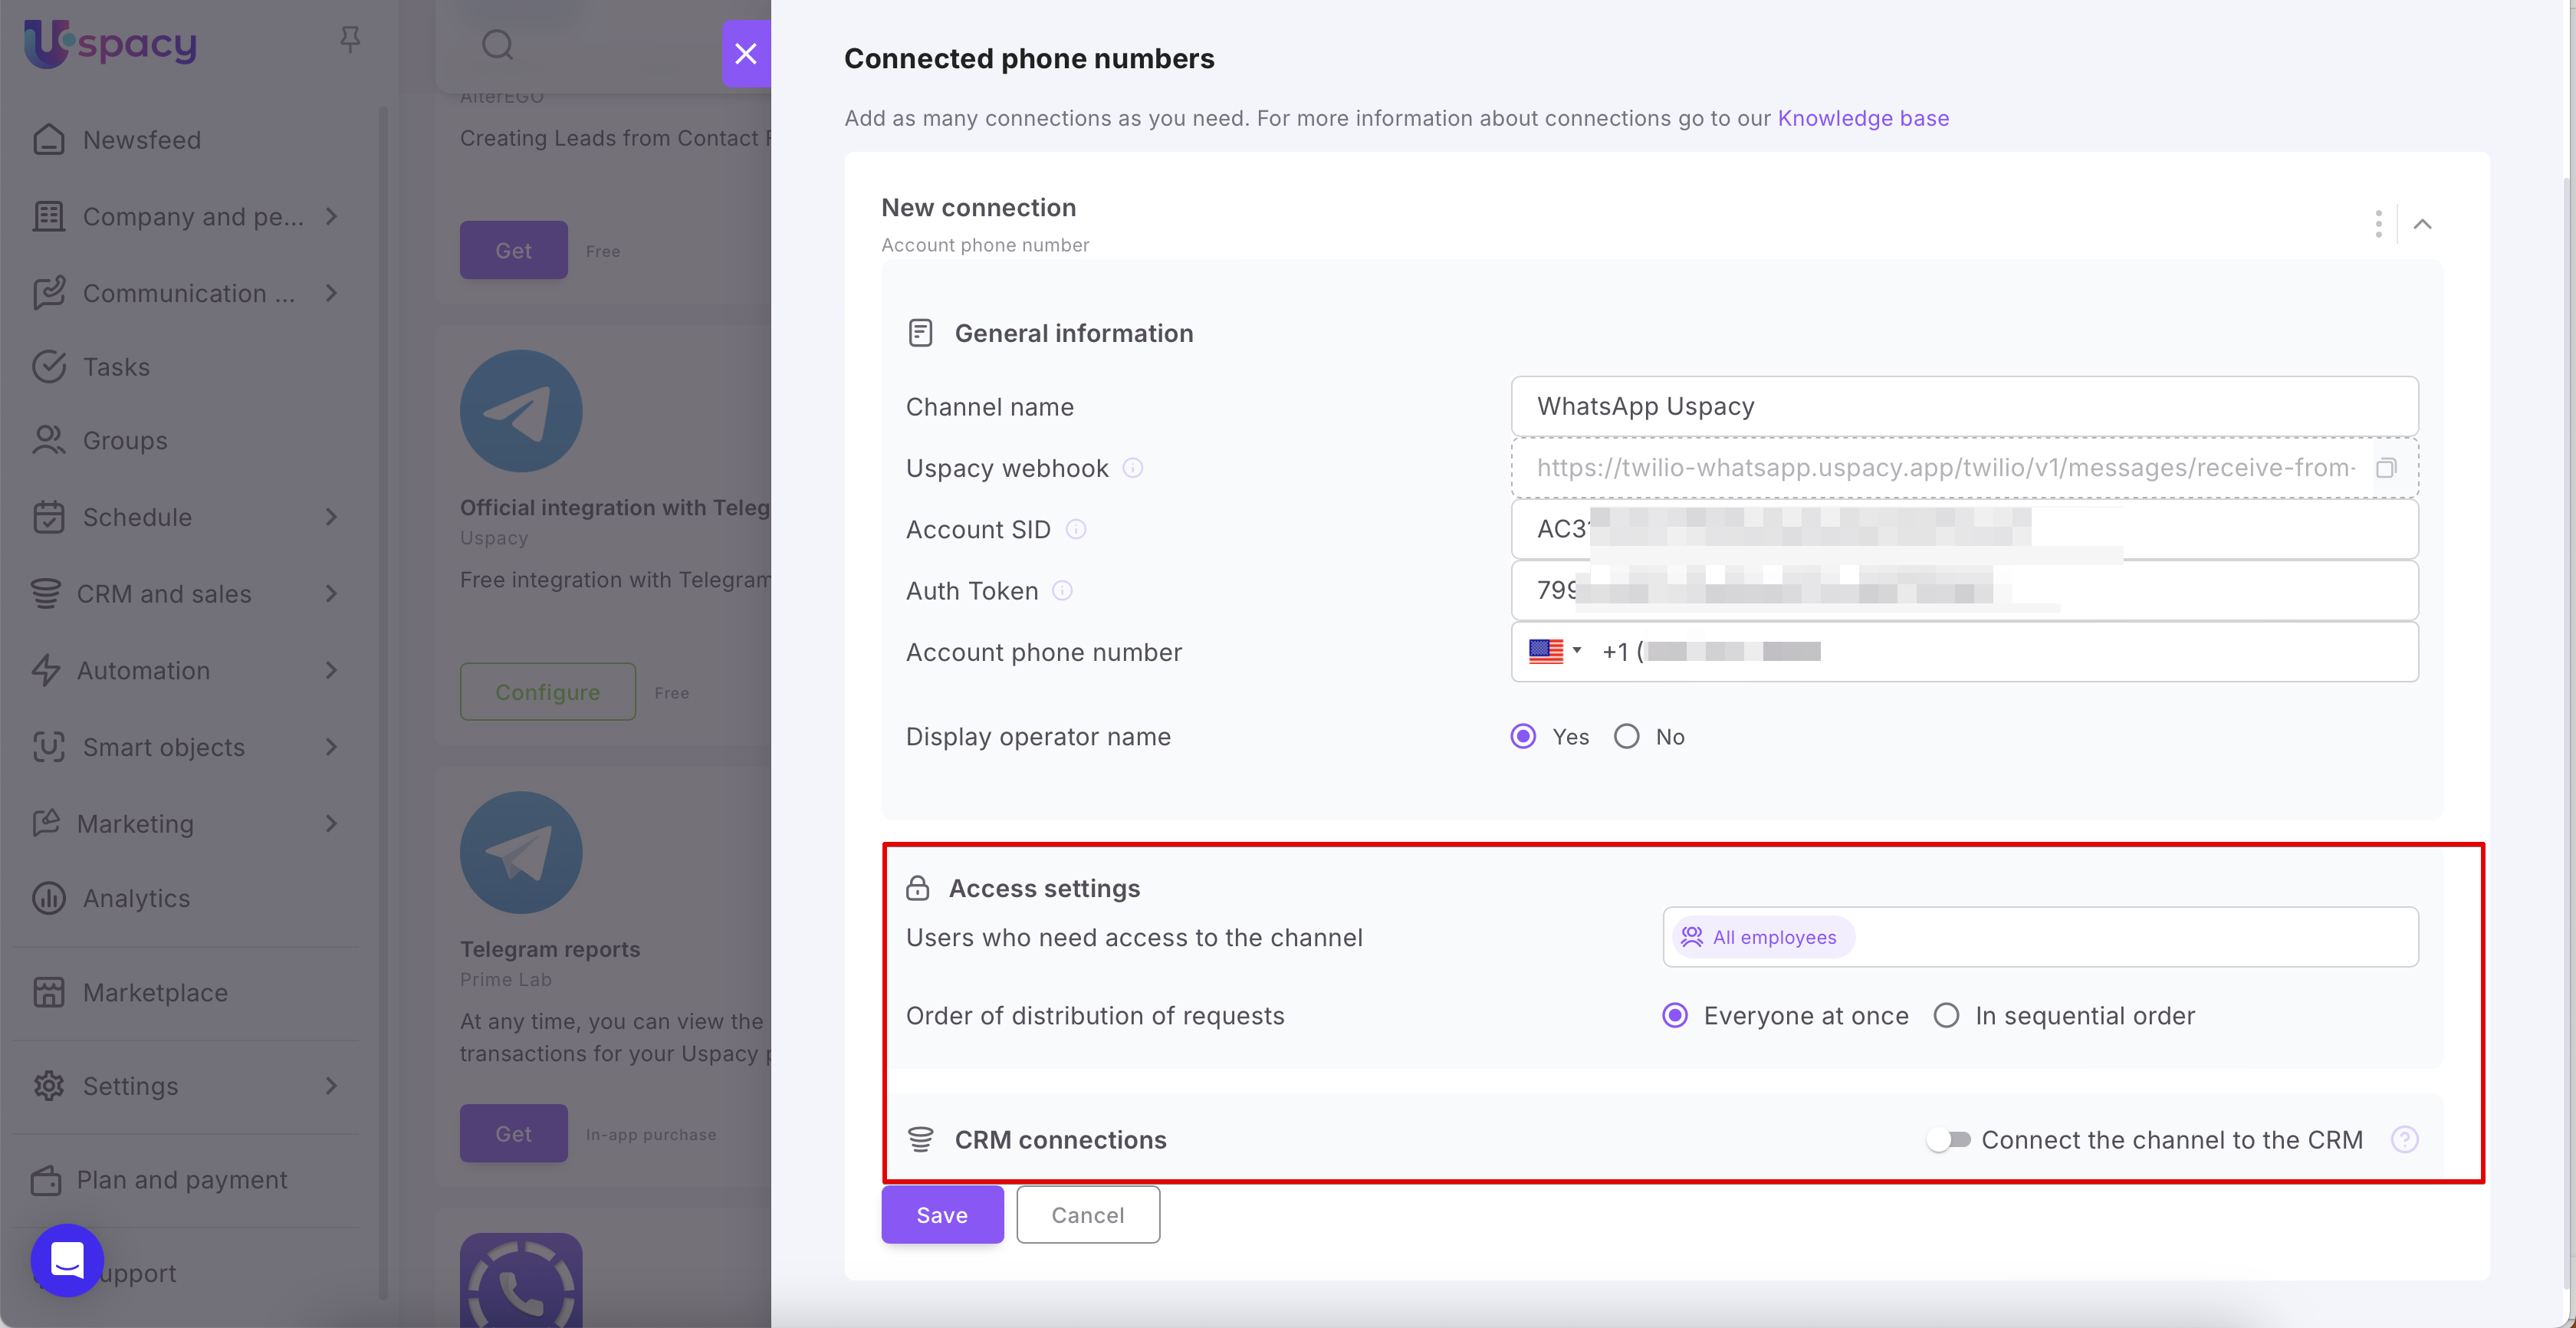
If you do need to configure these parameters, you can read how to do it and how they work in the following articles:
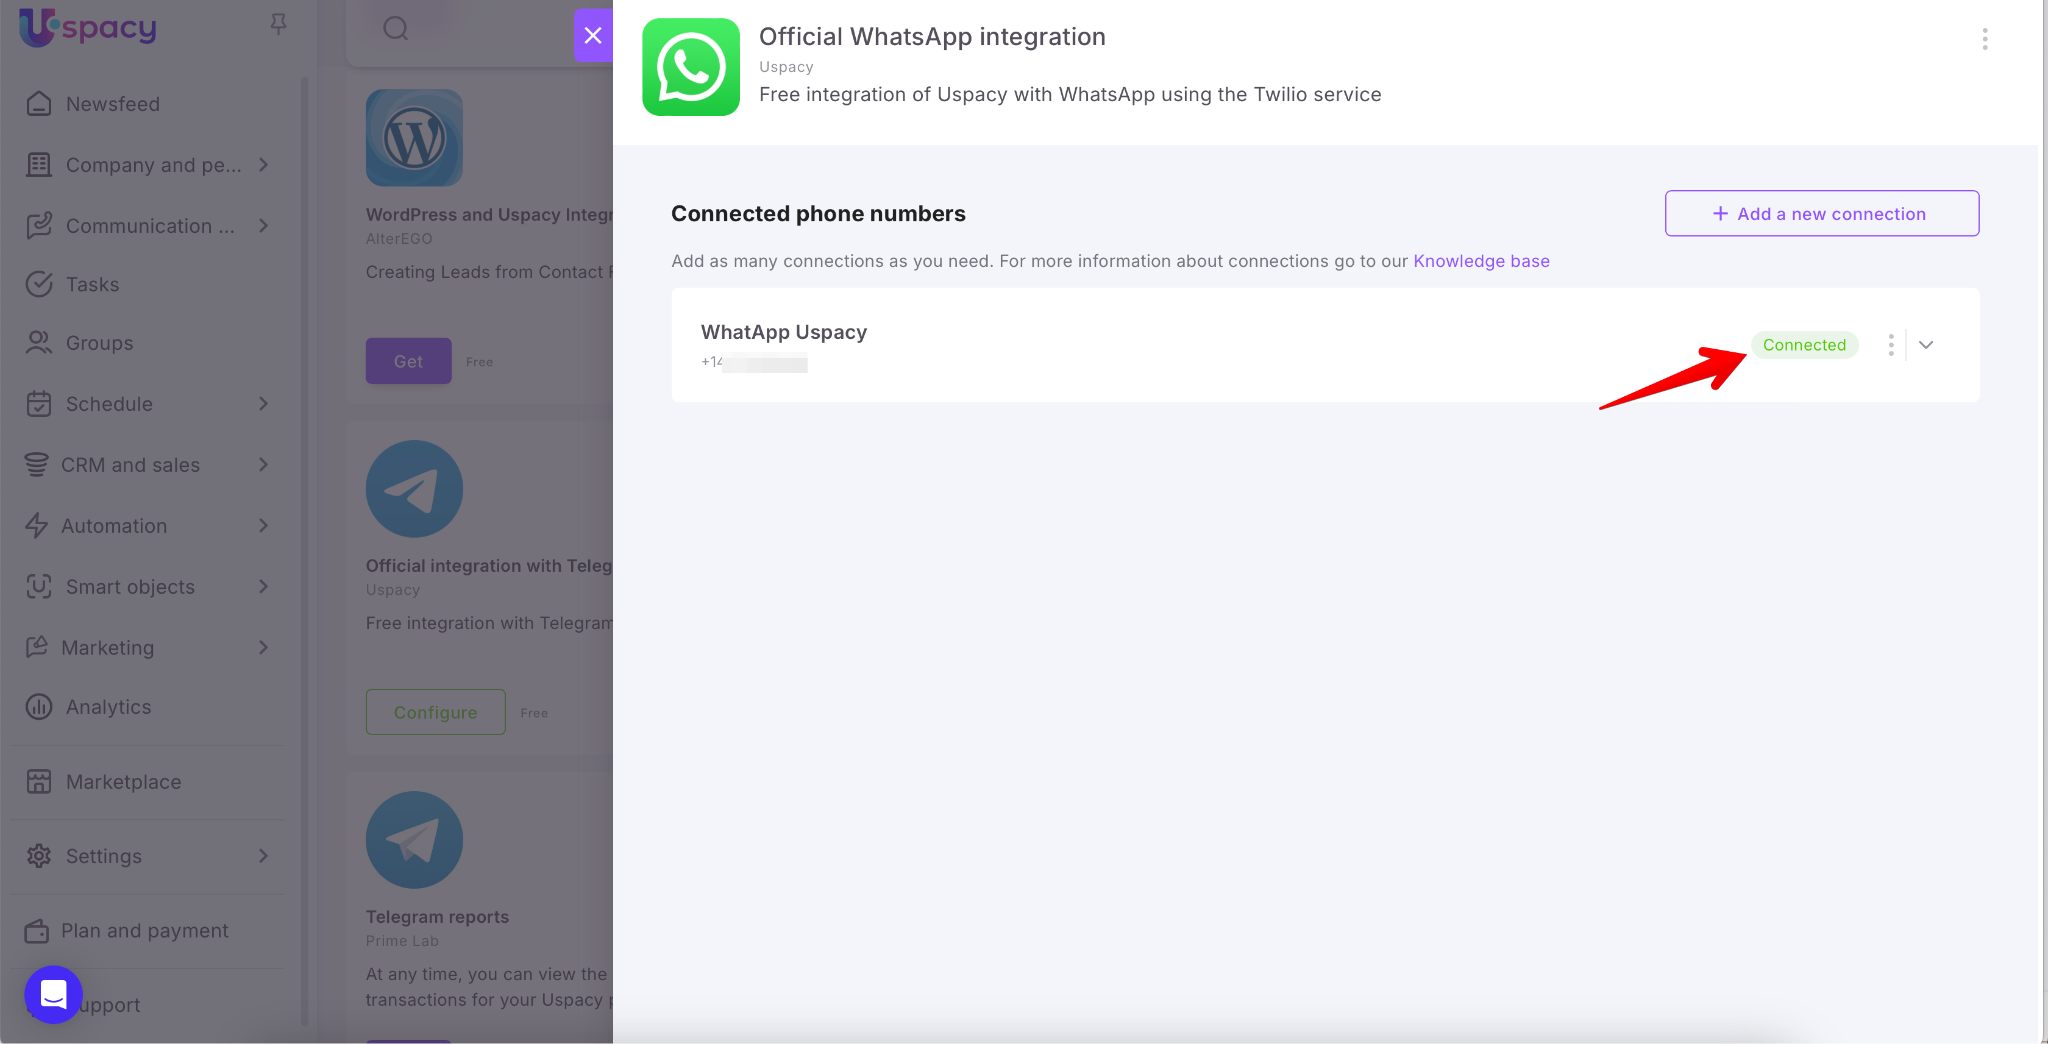
In case of a success, it will be displayed in the status at once.
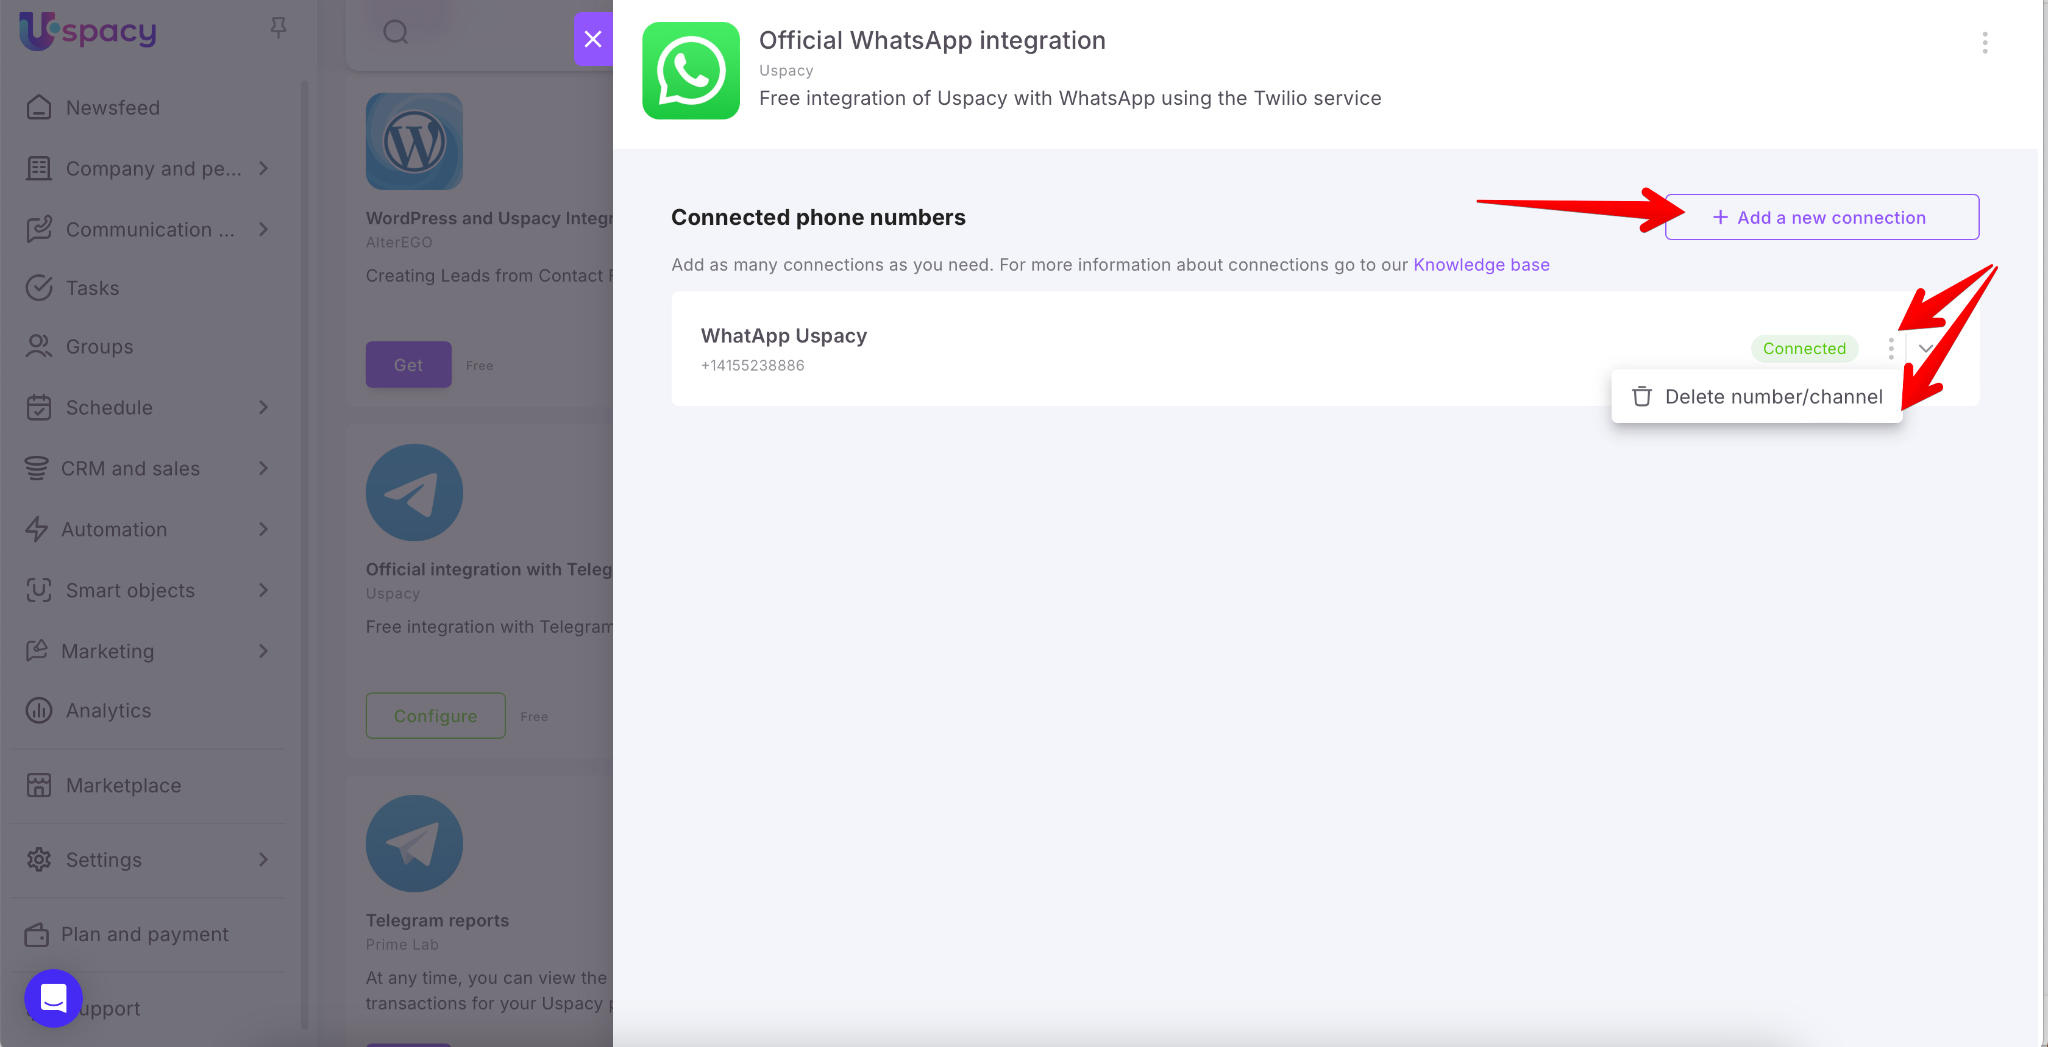
If necessary, you can either Add a new connection or Delete a number/channel that has already been configured.
How does it work?
The client writes to you in your business WhatsApp account. For example, he/she used a contact button on your site or a widget.
💡 If the “Display operator name” option is enabled, the client will see who exactly from your company is communicating with them. In other words, the manager’s name will appear before the message text.
You will receive the message in the External Lines and you will be able to communicate with the client directly in the chat of your Space.

🔍 You can read more about how to work with chats in external lines in the following article.
If you have additional questions or you need to contact the support, send a request to this email [email protected]
Created: August 30, 2023 / Updated: September 2, 2025